When your home or property isn’t connected to a mains sewer system, the next best (and often required) solution is to install either a septic tank or a sewage treatment plant. Whether you’re building a new home in the countryside or upgrading an outdated system, understanding how to properly install these wastewater systems is essential for long-term performance and environmental compliance.
This in-depth guide walks you through everything from choosing the right system to step-by-step installation. Whether you’re hiring a professional or doing it yourself, we’ll help you make smart, informed decisions.
What’s the Difference Between a Septic Tank and a Sewage Treatment Plant?
Septic Tanks
A septic tank collects household wastewater and separates solids from liquids. The solids settle at the bottom, forming sludge, while lighter materials like grease float to the top. The remaining liquid, known as effluent, flows into a soakaway or drainage field where natural processes continue to treat it.
Benefits:
- Lower upfront installation cost
- Simple design, fewer mechanical parts
Limitations:
- Cannot discharge directly into watercourses
- Requires suitable soil conditions
- Needs regular emptying
Sewage Treatment Plants
These systems treat wastewater more thoroughly using biological processes and sometimes mechanical components. The treated water is cleaner and safe enough to discharge into nearby water bodies, depending on local regulations.
Benefits:
- Produces cleaner effluent
- Suitable for areas with poor soil drainage
- Can discharge into streams or ditches
Limitations:
- Higher installation and maintenance cost
- Needs a power supply
- Regular servicing required
Before You Start: Key Considerations
Before digging any holes or buying equipment, you’ll need to evaluate your property and local regulations. Here’s what to do first:
1. Conduct a Site Survey
- Assess ground conditions and water table level
- Test soil permeability if planning to install a drainage field
- Check property access for machinery
2. Choose the Right System
Factors to consider include:
- Size of the property and household
- Available space
- Proximity to watercourses
- Budget for installation and maintenance
- Local environmental rules
3. Get the Right Approvals
Depending on your area:
- You might need permission to discharge treated water
- You’ll likely need to comply with building or environmental codes
- Some installations require inspections before and after setup
Step-by-Step: How to Install a Septic Tank or Sewage Treatment Plant
Here’s a simplified version of the process, suitable for both types of systems.
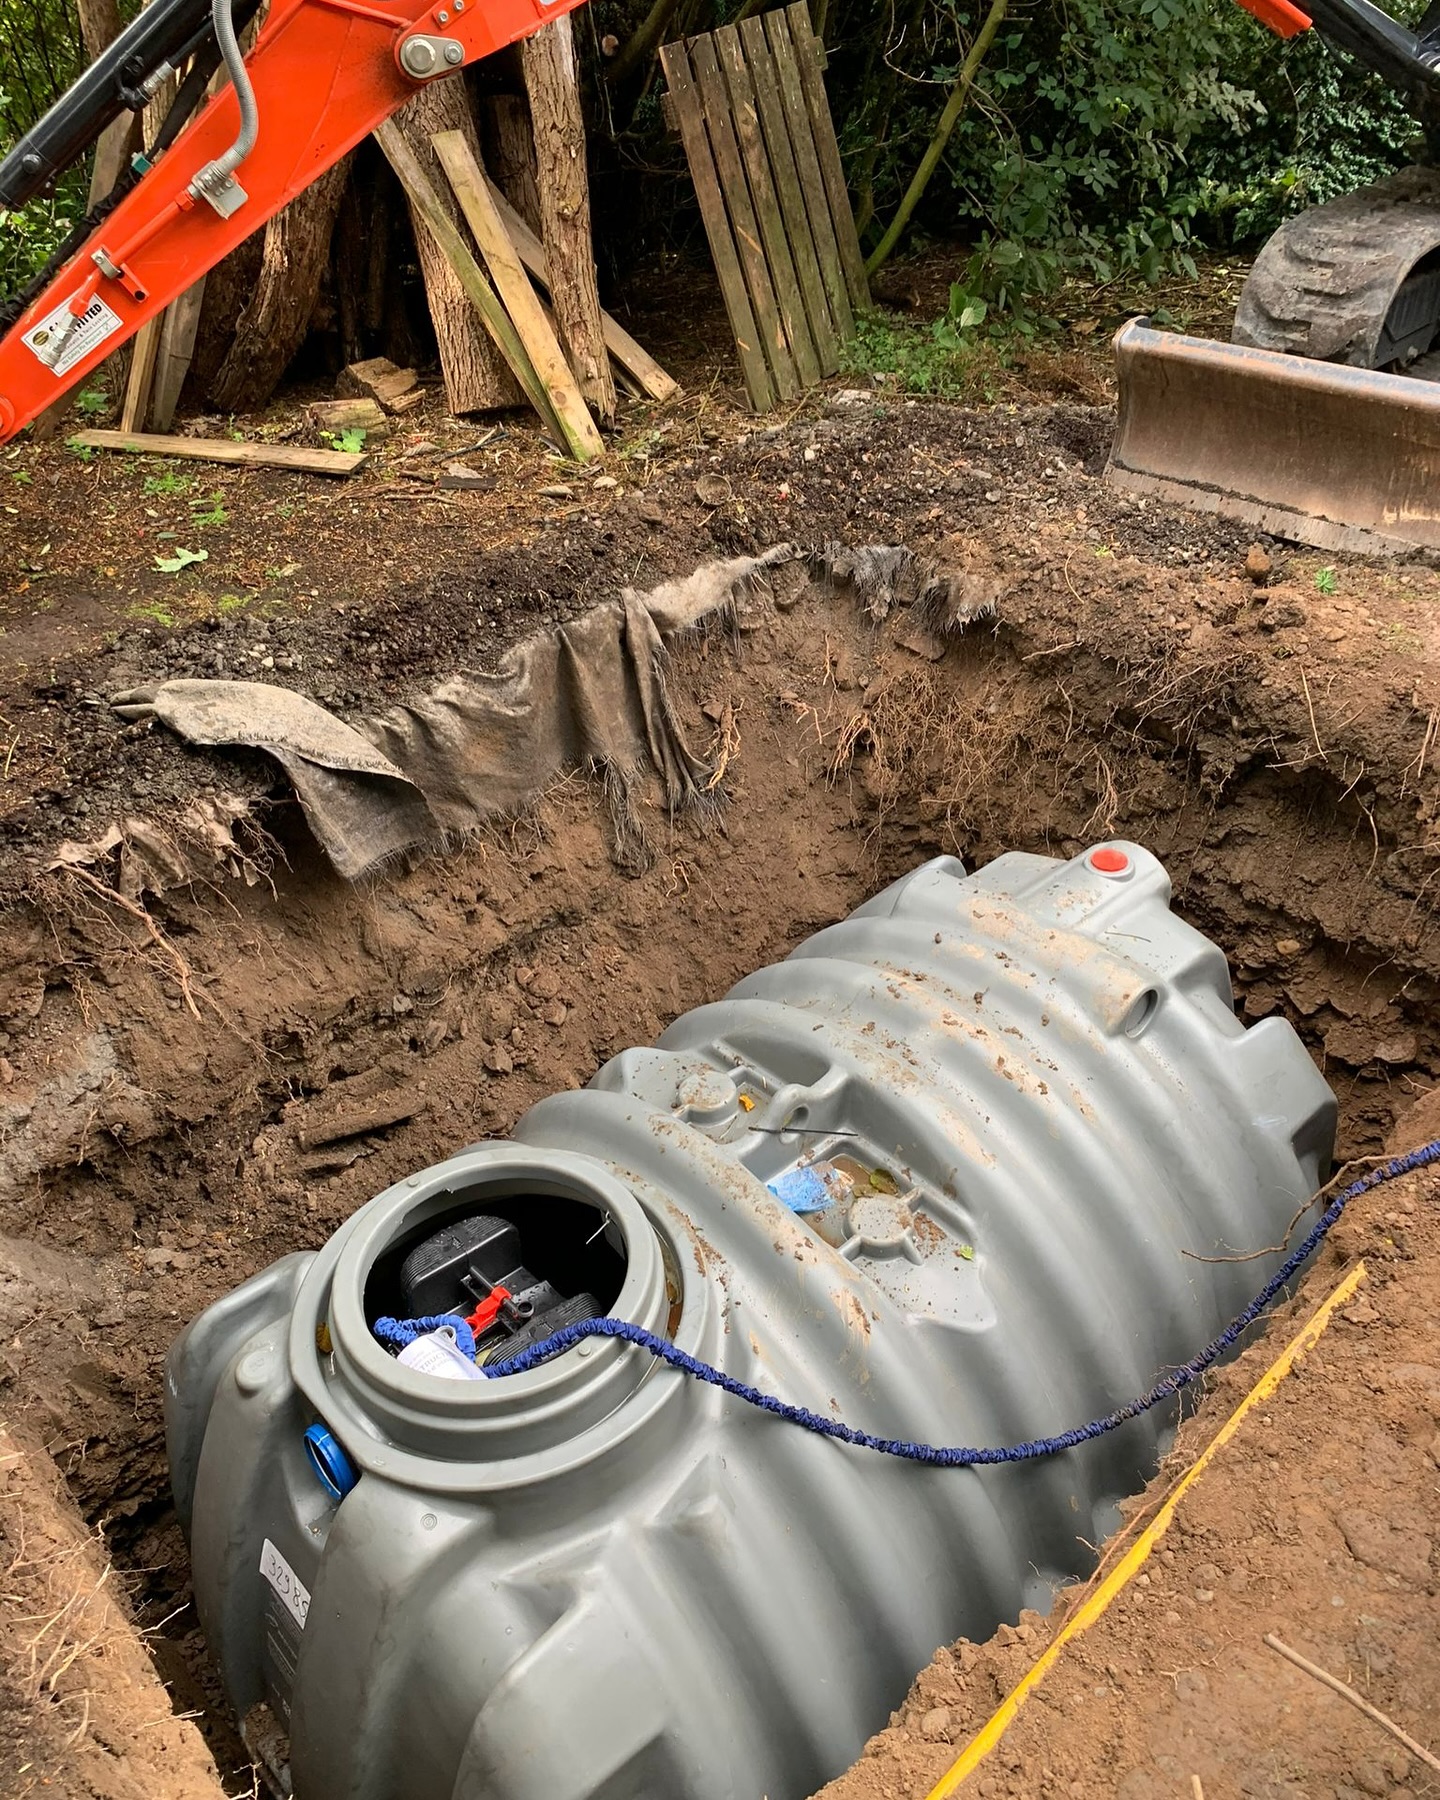
Step 1: Prepare the Area
Start with excavation. This is typically done with heavy machinery and must account for:
- Tank dimensions
- Backfill space
- Access for pipe connections
Tip: Always ensure the site is level and has enough fall (usually 1:60) from your property to the tank.
Step 2: Build a Solid Base
Lay a foundation using concrete or compacted sand/gravel as per the manufacturer’s recommendations. This prevents the tank from shifting over time.
Step 3: Position the Tank
Use lifting straps or machinery to lower the tank into the hole. Align the inlet and outlet correctly and ensure the tank is level.
Step 4: Install Inlet and Outlet Pipes
Connect your home’s wastewater outlet to the tank inlet, and the outlet to either a drainage field or discharge pipe.
- Use inspection chambers where needed
- Use flexible couplings to absorb movement
- Seal all joints securely
Step 5: Backfill Carefully
Backfill with gravel, sand, or concrete (based on the tank type) in even layers. Avoid using sharp or large stones that can damage the tank.
Important: Never backfill around an empty or unsupported tank—it could collapse or float if it rains.
Step 6: Connect the Electrical Supply (for Treatment Plants)
Treatment plants often need a power source to run blowers or internal mixers.
- Use a weatherproof connection
- Always hire a licensed electrician
Step 7: Finalise the Installation
- Fit manhole covers or lids flush with ground level
- If applicable, build up the drainage field using proper layout and depth
- Test the system by running water through it
Maintenance Tips
- Septic tanks should be emptied annually or as needed
- Treatment plants require servicing every 6 to 12 months
- Keep vents and inspection ports clear
- Check for unusual smells or pooling water, which could signal a problem
Common Mistakes to Avoid
- Placing tanks too close to buildings or property boundaries
- Installing on a slope or in flood-prone areas without proper support
- Ignoring manufacturer guidelines
- Overloading the system with too much water or chemical waste
- Skipping permits or inspections
When Should You Hire a Professional?
DIY might save money upfront, but for most people, hiring a certified installer is the safer bet. You should call a pro if:
- You’re unsure about soil or site conditions
- Electrical work is needed
- Your system needs a discharge permit
- You want a manufacturer-backed warranty
For reliable, end-to-end service, Drainmaster Scotland is a top choice. As the country’s leading independent drainage and emergency plumbing experts, we offer everything from septic tank installation and maintenance to emergency call-outs—backed by skilled technicians and advanced equipment. Whether you’re in a city or a remote location, we’re just a call away. Contact us today to book a consultation or emergency service.
Final Thoughts
Installing a septic tank or sewage treatment plant is a major investment—but one that’s essential for homes without mains drainage. With the right planning, correct installation, and regular maintenance, these systems can operate reliably for decades.
By following this guide, you’re on your way to managing wastewater safely, efficiently, and in an environmentally friendly way.